I was suddenly reminded the other day when my British friend told me she had made a Victoria sponge cake that I had forgotten to post these! And really they were one of my favourite Whoopie Pies so I am not sure how I forgot!
I made these awhile ago for a Pride and Prejudice marathon watching day. We watched all of the BBC series in a row one rainy day (6 hours I think?) and I figured we needed a fun sweet for the day. We actually had a huge feast of food… and because it was an all-day event, it allowed for many rounds of eating… which may have been why we all overate.
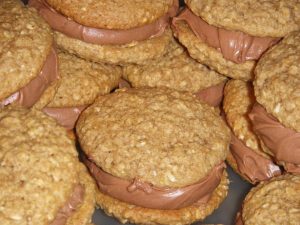
Victoria Sandwich (or Sponge) Cake was named by Queen Victoria. Although I first saw this cake on the Food Network somewhere, from Wikipedia, I learned that “a typical Victoria sponge consists of raspberry jam and whipped double cream or vanilla cream. The jam and cream are sandwiched between two sponge cakes; the top of the cake is not iced or decorated apart from a dusting of icing sugar.” Seemed like a great idea for a Whoopie Pie!

These went over quite well! Even though I am a huge fan of some of the more interesting/exciting flavour combos on here, I really loved these and they would rank up there as one of my favourites. I do have to say, I think the homemade raspberry jam from my mom truly made them special. Homemade jam is so much more amazing: I definitely recommend it in this recipe over a store-bought version. The other important ingredient would be the vanilla bean in the vanilla filling – yes, you can just use vanilla instead but vanilla beans offer so much more in the vanilla department! They are in their own league for flavour!
Vanilla Whoopie Pies
adapted from Vanilla Whoopie Pies in Whoopie Pies by Sarah Billingley and Amy Treadwell
 2 1/4 all purpose flour
- 1 1/2 tsp baking powder
- 1/2 tsp salt
- 1/2 cup butter
- 1/2 cup white sugar
- 1/2 cup packed brown sugar
- 1 tsp vanilla extract
- 2 eggs
- 1/2 cup buttermilk
- 2 Tb milk
- 1 tsp baking soda
- 1 tsp white vinegar

- Preheat oven to 375°F. Line two baking sheets with parchment paper.
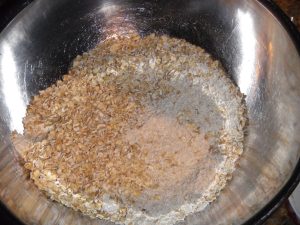
- Whisk together flour, baking powder & salt in a bowl
- In the bowl of a stand mixer, beat the butter for a minute or so and then add the sugars. Continue beating for another couple of minutes until light & creamy. Add the vanilla and the eggs one at a time.
- Add the buttermilk slowly with the mixer on low.
- In a small bowl or measuring cup, add the baking soda and then the vinegar to the milk (it will foam!!)
- First mix in about half the flour mixture, then the milk mix, then finally the rest of the flour.
- Drop, scoop or pipe about 1-2 Tb of batter onto the baking sheets.
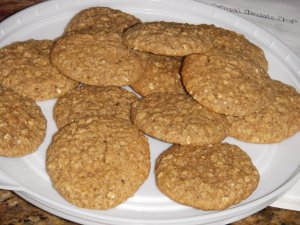
- Bake 8-10 min or until the cookies just start to brown. Allow them to cool a few minutes before transferring them to a drying rack.
- 3/4 cup butter, room temp
- 1 vanilla bean, scraped (or 2 tsp vanilla)
- 3 cups icing sugar
- 1-2 Tb cream (or milk)
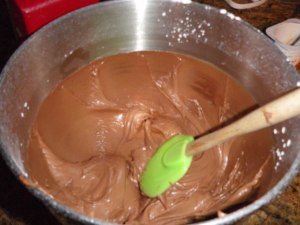
- Beat butter until light and creamy. Add vanilla bean.
- Add sugar 1/2 cup at a time.
- Add cream (or milk) until it is a medium consistency: not too thick but not too thin!
Raspberry Jam (preferably homemade. Sorry I don’t have a recipe to suggest! I usually just go with the one in the package of pectin!) (make sure it isn’t a watery variety)
Assembly:
- Line up the cookies so that they are beside a matching partner
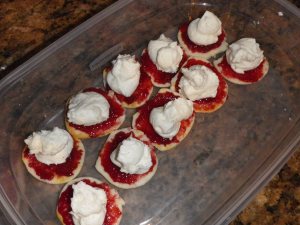 (similar size and shape).
 - Spread half of the whoopie pies with raspberry jam. Add a dallop of very vanilla filling to the top of the jam (use about as much filling as you used for each cookie – about 1-2 Tb).
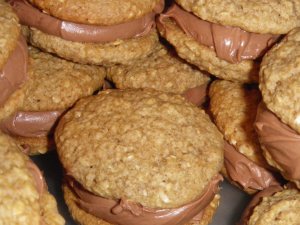
- Smoosh the other side of the cookies on top!
- Eat! yum!